Getting Started with CustomJS and n8n
This guide will walk you through everything you need to know to start using CustomJS with n8n, from initial setup to running your first successful automation.
1. Install our community node
You must first install our community node:
@custom-js/n8n-nodes-pdf-toolkit
Installation via n8n UI
n8n supports community nodes out of the box. You can install the PDF Toolkit node directly from the n8n editor:
- Open your self-hosted n8n instance in the browser.
- Go to Settings → Community Nodes.
- Click on Install a Community Node.
- Enter the package name:
@custom-js/n8n-nodes-pdf-toolkit. - Confirm and restart n8n if prompted.
After installation, the PDF Toolkit node will be available in the node selector.
Troubleshooting
- If the node does not appear, reload the n8n editor UI.
- Make sure your n8n version supports Community Nodes (>= v0.187.0).
Important:
Community nodes are only available on self-hosted instances of n8n. You can learn how to setup n8n on your local machine or your server from official documentation.
2. Register and obtain your API key
To use the PDF Toolkit in n8n, you need an account with CustomJS.
This account provides your API key, which n8n will use to authenticate requests to the CustomJS API.
- Visit https://www.customjs.space and click Sign in.
- Complete registration by either providing your email and password or using your Google account.
- Once registered, you will be redirected to the CustomJS app dashboard.
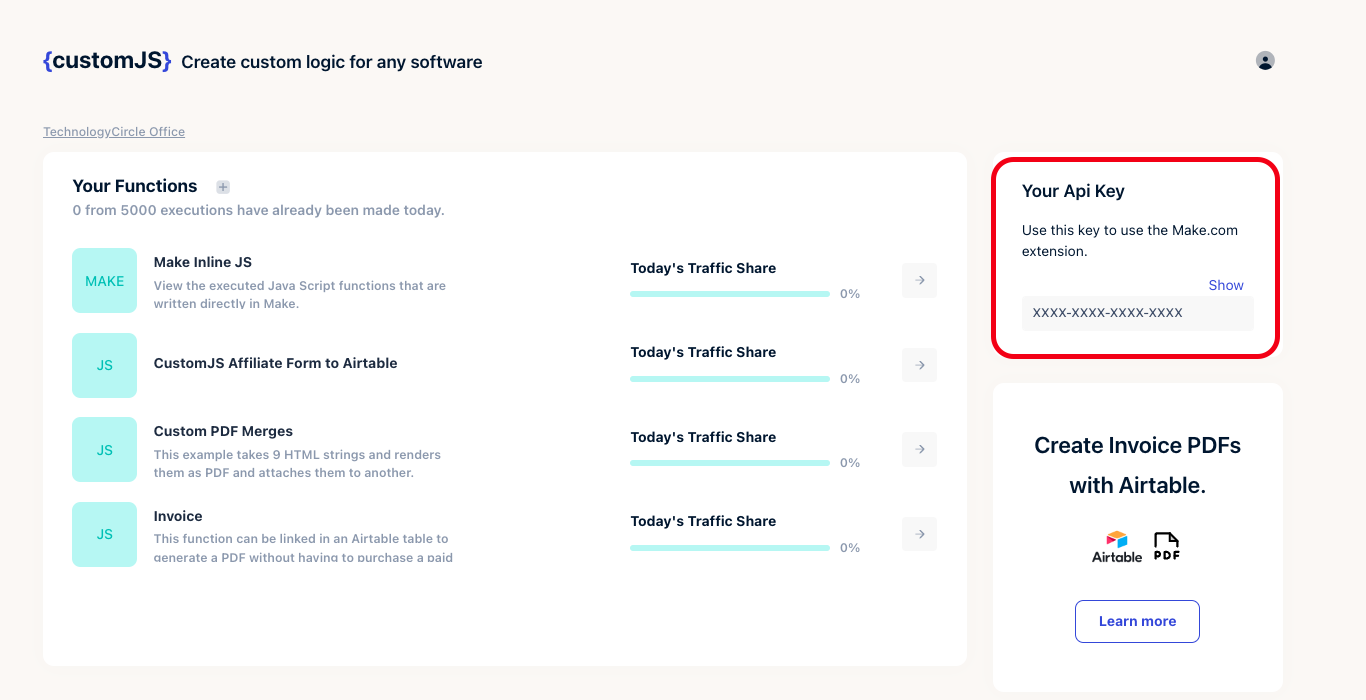
Click Show under API Key to reveal your API key.
CustomJS V2 API Key - Copy the API key. You will need to enter it in n8n under Credentials → CustomJS PDF Toolkit.