Getting Started with CustomJS
Welcome to the CustomJS API documentation! CustomJS provides a suite of powerful tools designed to simplify web automation and content manipulation. With our API, you can effortlessly convert HTML to PNGs or PDFs, merge multiple PDFs, capture website screenshots, and even run headless browser tasks using Puppeteer. Whether you're automating reports, generating documents, or performing advanced web interactions, CustomJS enables seamless integration with platforms like Zapier, making it easier than ever to enhance your workflows. This guide will walk you through each API method, offering detailed explanations and examples to help you get started quickly.
- - Register and Obtain Your API Key
Sign In and copy your API key from the dashboard.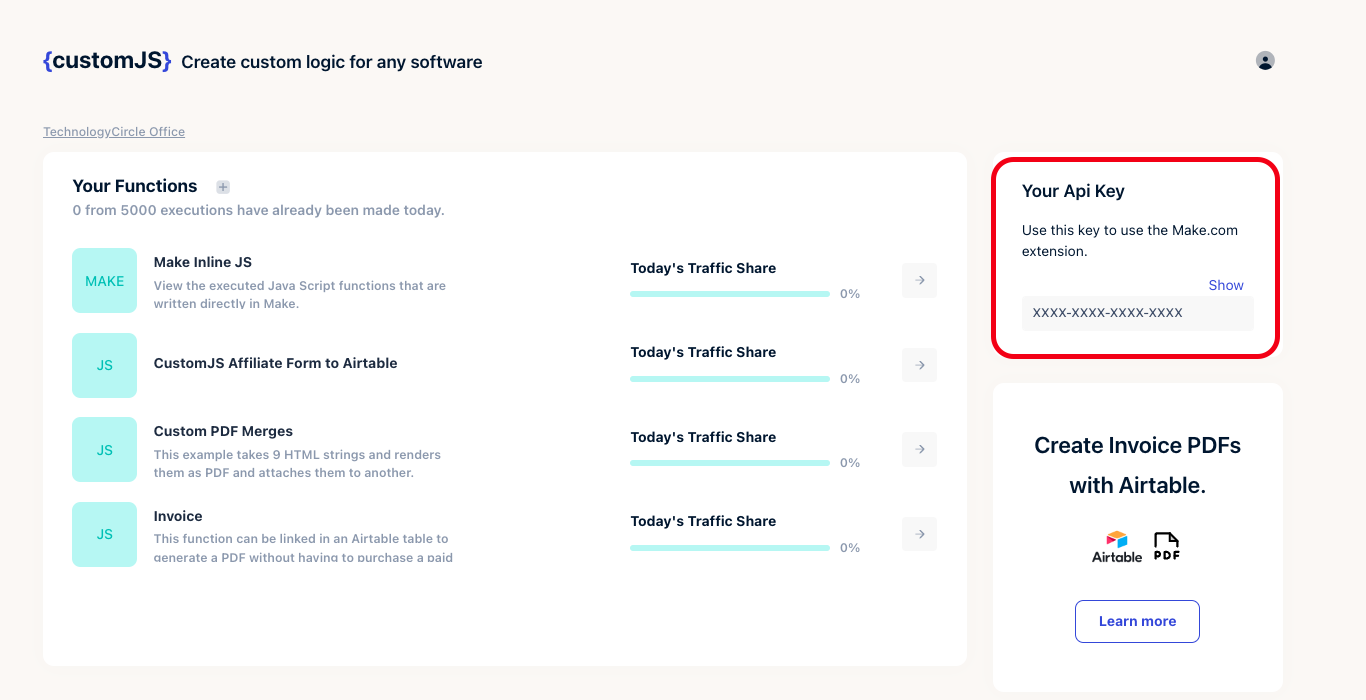
CustomJS V2 API Key
- - Authentication Verfication
This endpoint is used to authenticate a CustomJS account by verifying the provided API key. It allows clients to validate their credentials and gain access to workspace-level details and settings associated with the API key. Successful authentication enables further interaction with the CustomJS API.
This endpoint is essential for clients to confirm their credentials before accessing other CustomJS API functionalities.
Request
curl -X GET https://api.app.customjs.io/core/api-key/{api_key} \
-H "x-api-key: {api_key}"
Response
{
  "workspaceId": "string",
  "name": "string",
  "maxRequestCount": "number",
  "apiKeyData": {
    "value": "string",
    "id": "string"
  },
  "apiKey": "string",
  "timestamp": "number",
  "createdAt": "number",
  "jwt": {
    "at_hash": "string",
    "sub": "string",
    "email_verified": "boolean",
    "iss": "string",
    "cognito:username": "string",
    "origin_jti": "string",
    "aud": "string",
    "token_use": "string",
    "auth_time": "number",
    "userId": "string",
    "providerName": "string",
    "providerType": "string",
    "issuer": "string",
    "primary": "boolean",
    "jti": "string",
    "email": "string"
  },
  "dateCreated": "number",
  "userId": "string",
  "exp": "number",
  "iat": "number"
}